Black walnut (Juglans nigra) season is upon us. Bringing with it my annual dilemma of how to process them effectively. “Effectively” meaning “getting the hulls off as many walnuts as possible in as little time as possible.”
Luckily my mom shared a video with me that should have helped.
I watched the video intently. Unfortunately, I didn’t have a metal garbage can, or a sufficiently powerful drill, or an appropriately shaped milk crate. In other words, everything I needed to actually apply their method to my own situation.

The video also said walnuts with black hulls were not only okay, they were preferable because they were easier to clean. I’d always heard that black hulls can impart an unpleasant flavor to the nutmeat within. I kept more of the black hulls than previously, but if I found a nut with over half the hull missing, I discarded it.
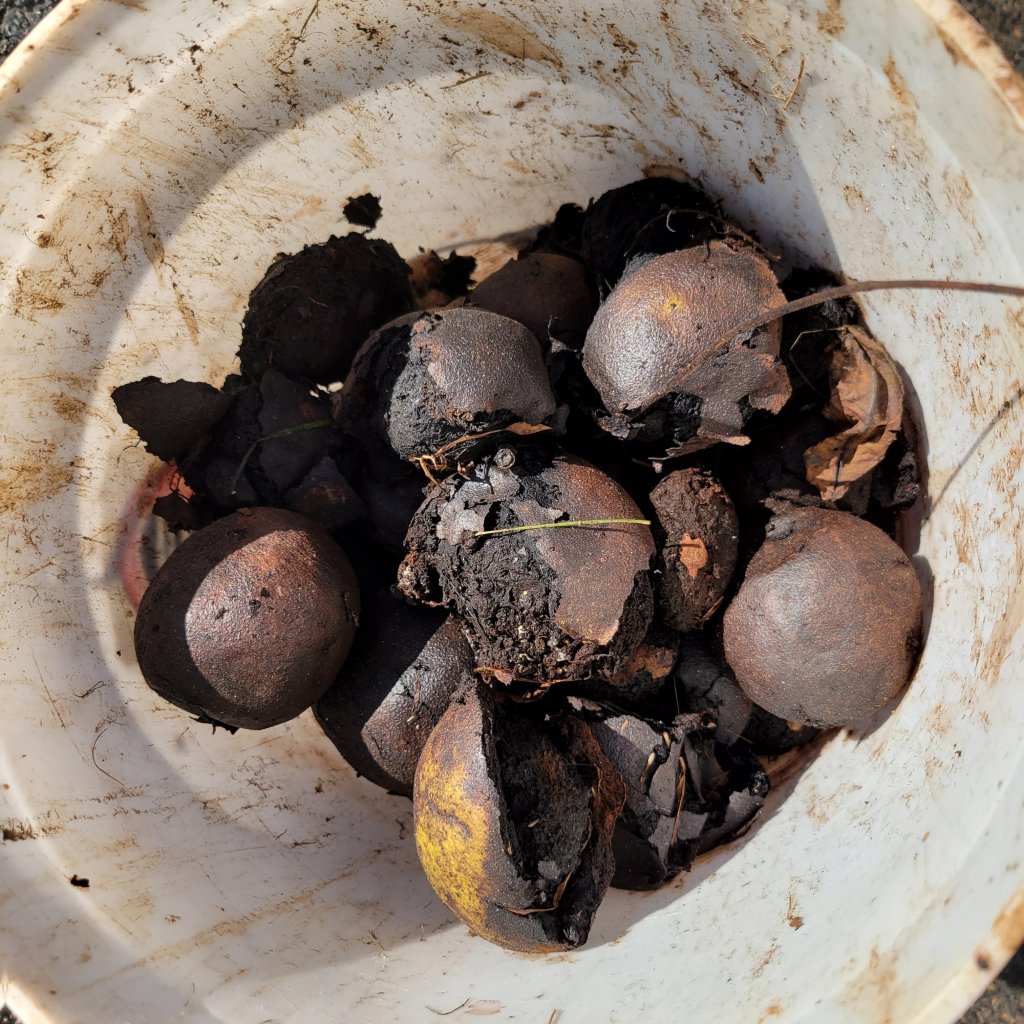
(And by “discarded”, I mean “saved to plant in locations that need more black walnut trees”!)
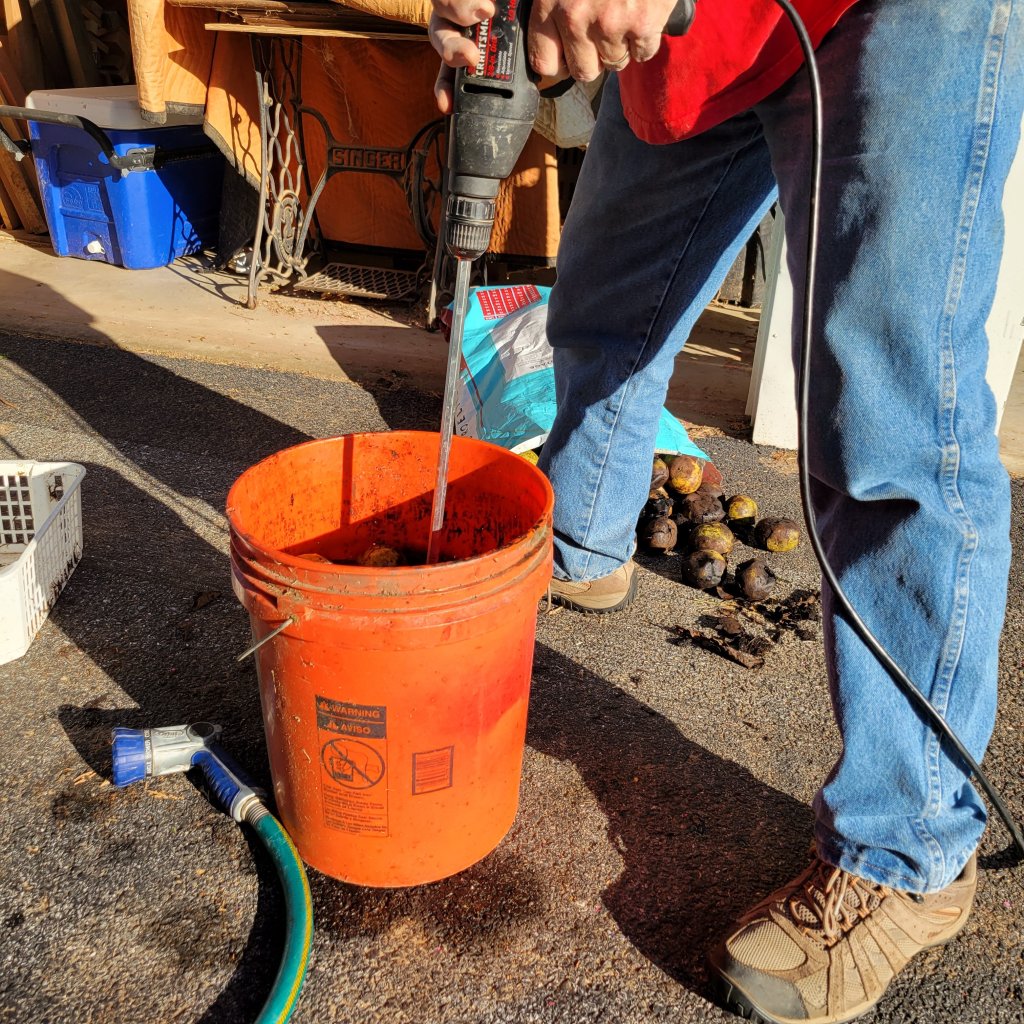
Instead of a metal garbage can, we used what we had – a five gallon bucket from a popular home improvement store.
While we weren’t processing as many walnuts as the gents in the video, I still think a) it would’ve gone faster with a larger container and b) metal sides probably would have worked better to remove the hulls.
I can neither confirm nor deny whether our average homeowner-quality drill might’ve burned out during its stint as an oversized hand-held sticker blender. We filled the bucket with walnuts and water to cover, and churned the whole mess with the paint/grout mixer for several minutes.
As for straining the nuts from the black ick after they slammed against each other and the sides of the bucket… well, let’s just say your average cabinet organizing basket is no substitute for the milk crate shown in the video. Not only was the basket itself too small, the mesh was too narrow to allow the sludge to pass through easily.
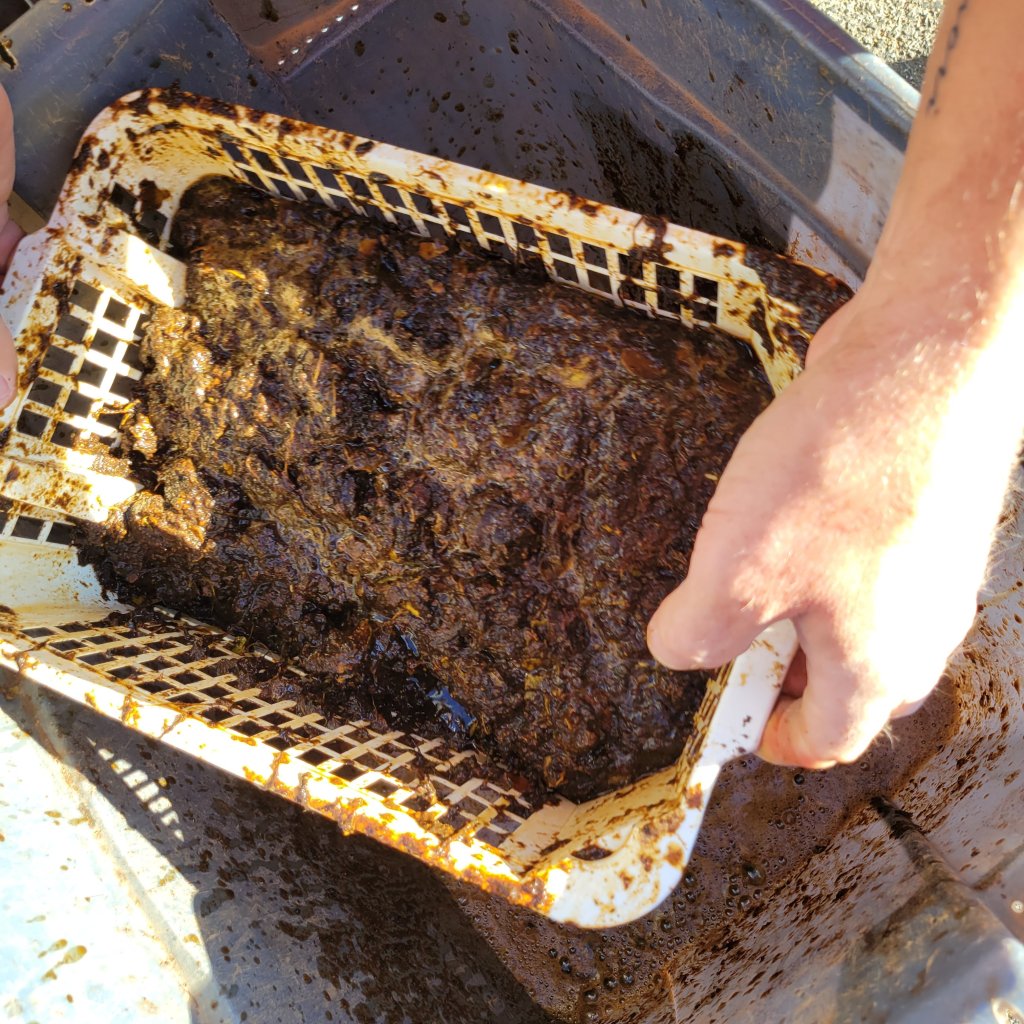
Even working with relatively small batches, we ended up covered in black walnut hull juice, which stained our skin and clothes.
Rather than dunking the walnuts in multiple water baths to finish cleaning them, we opted to send them through the high speed bucket bath once more. This approach used more water and electricity, but was easier to accomplish with our small scale set-up.
Oh and the last thing I did “wrong”, compared to the video? Over 100 feet separated our water source and compost bins, so I had to load the sludge into a wheelbarrow to haul across our yard.
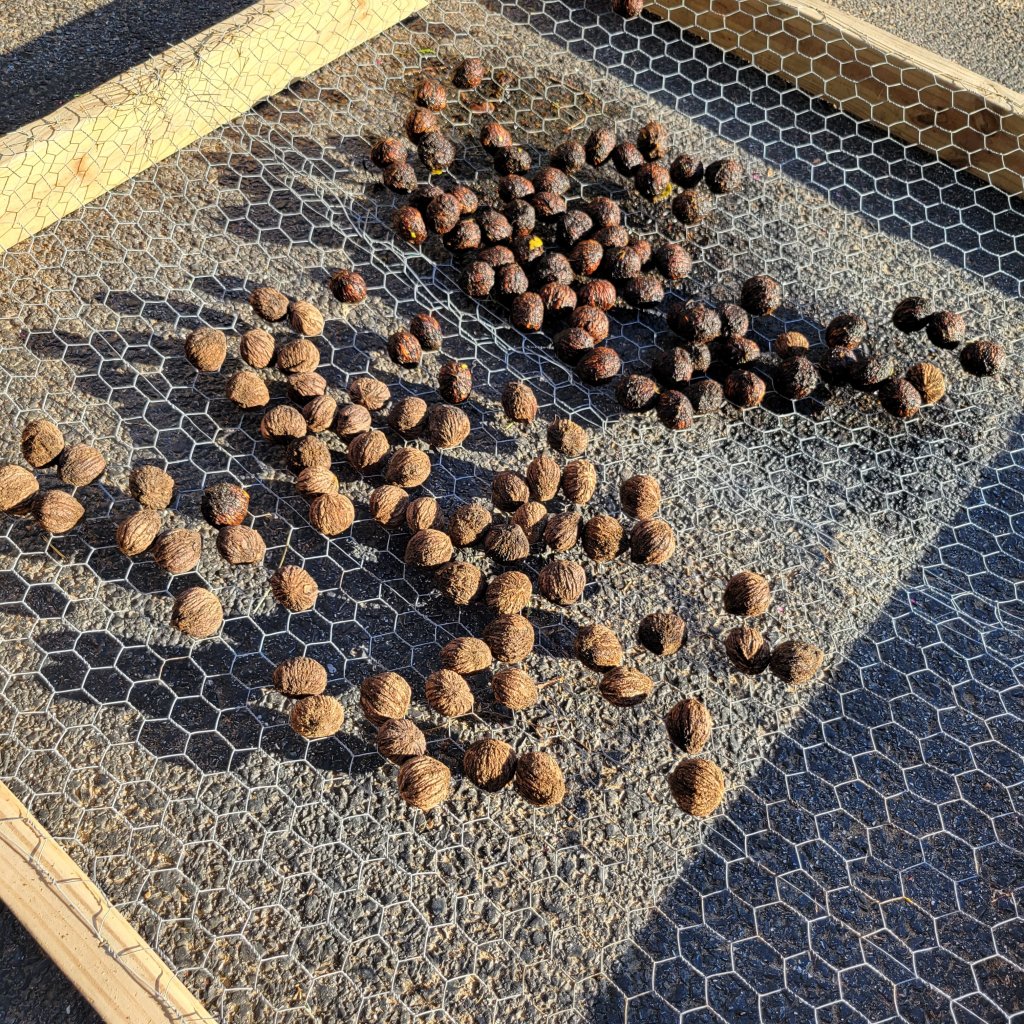
In other words, we basically took the idea from the video and just did our own thing! When all was said and done, our actual equipment and process barely resembled the original. That said….even for our modest harvest, the oversized stick-blender approach to ripping off the hulls was much faster and more efficient than my previous strategies.
Now I need better ideas for how to crack them! Can anybody recommend a YouTube video for me to mostly ignore?

Next year I’ll have a bigger drill…
[…] of the nutmeat within, but I couldn’t waste this generous gift. Using the same technique we tested out a few months ago, we (OK, my husband) transformed an almost-full garbage can of […]
[…] The walnuts had been drying in their shells for a few weeks… four months is “a few weeks”, right? And my husband was finally sick of tripping over them in his workshop. So we spent an entire day in late February cracking and sifting and sorting the five-gallons-plus of nuts we’d cleaned last fall. […]