Actually, it’s not summer yet, although the heat certainly has settled in recently!
And the dandelion is certainly NOT ready to drink.
But I finally started a batch! After years of “who has time to pick all those petals???”, I made the time to, well, pick all those petals! Here is the recipe I decided to use, and as soon as the yellow dots started appearing in my lawn, I set to work.
And I can share with you a few tricks about how not to go about collecting enough petals for dandelion wine.
First: I’ve read a lot that only the petals should be used for the wine, any greens at all result in bitterness which we do not want in our wine. But I’ve also heard first hand accounts that it’s not such a big deal. I opted for a middle route: mostly just petals, and if some bits of green ended up in the mix that wasn’t the end of the world.
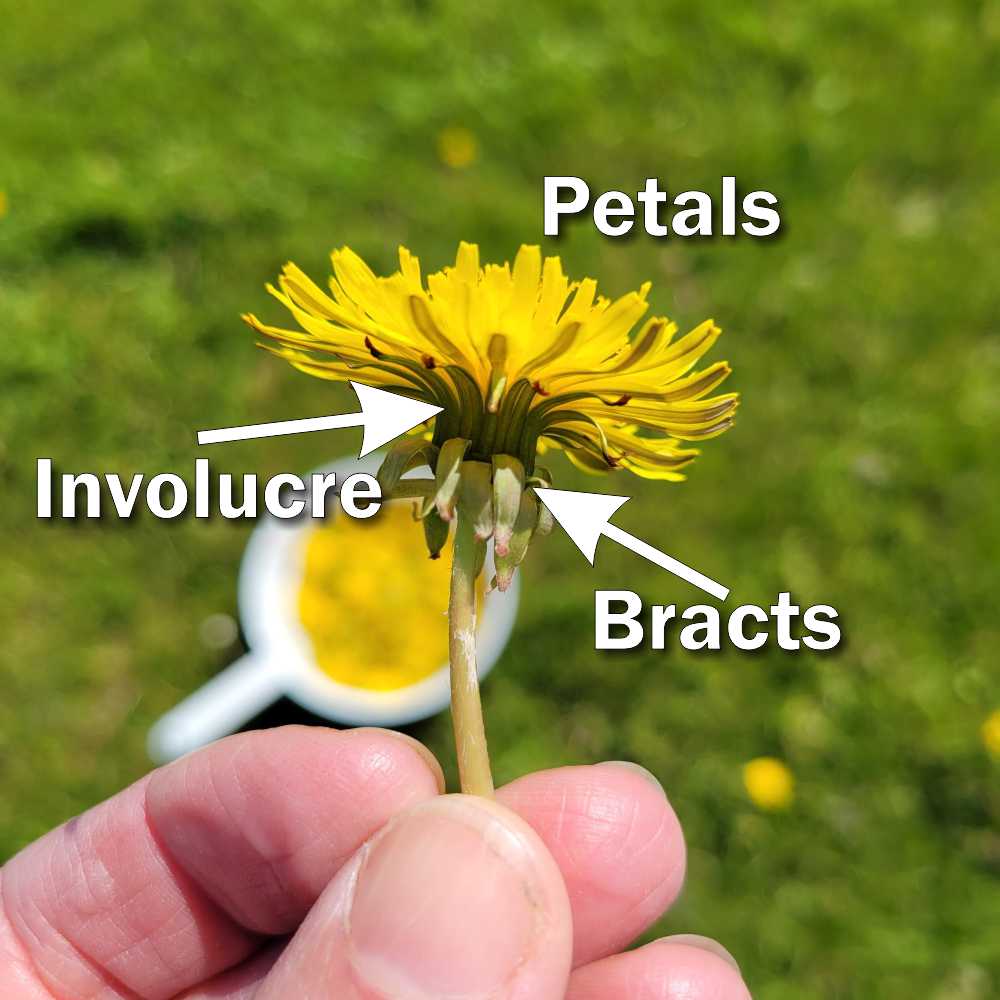
Technical talk: Dandelion flower petals are the yellow bits (obviously). The green bits that tend to go up with the petals are involucre. The green bits that fold down towards the stem are bracts. The only green bits I included with the petals was involucre because dandelion flower recipes (like fritters) suggested the bracts were the main source of bitterness.
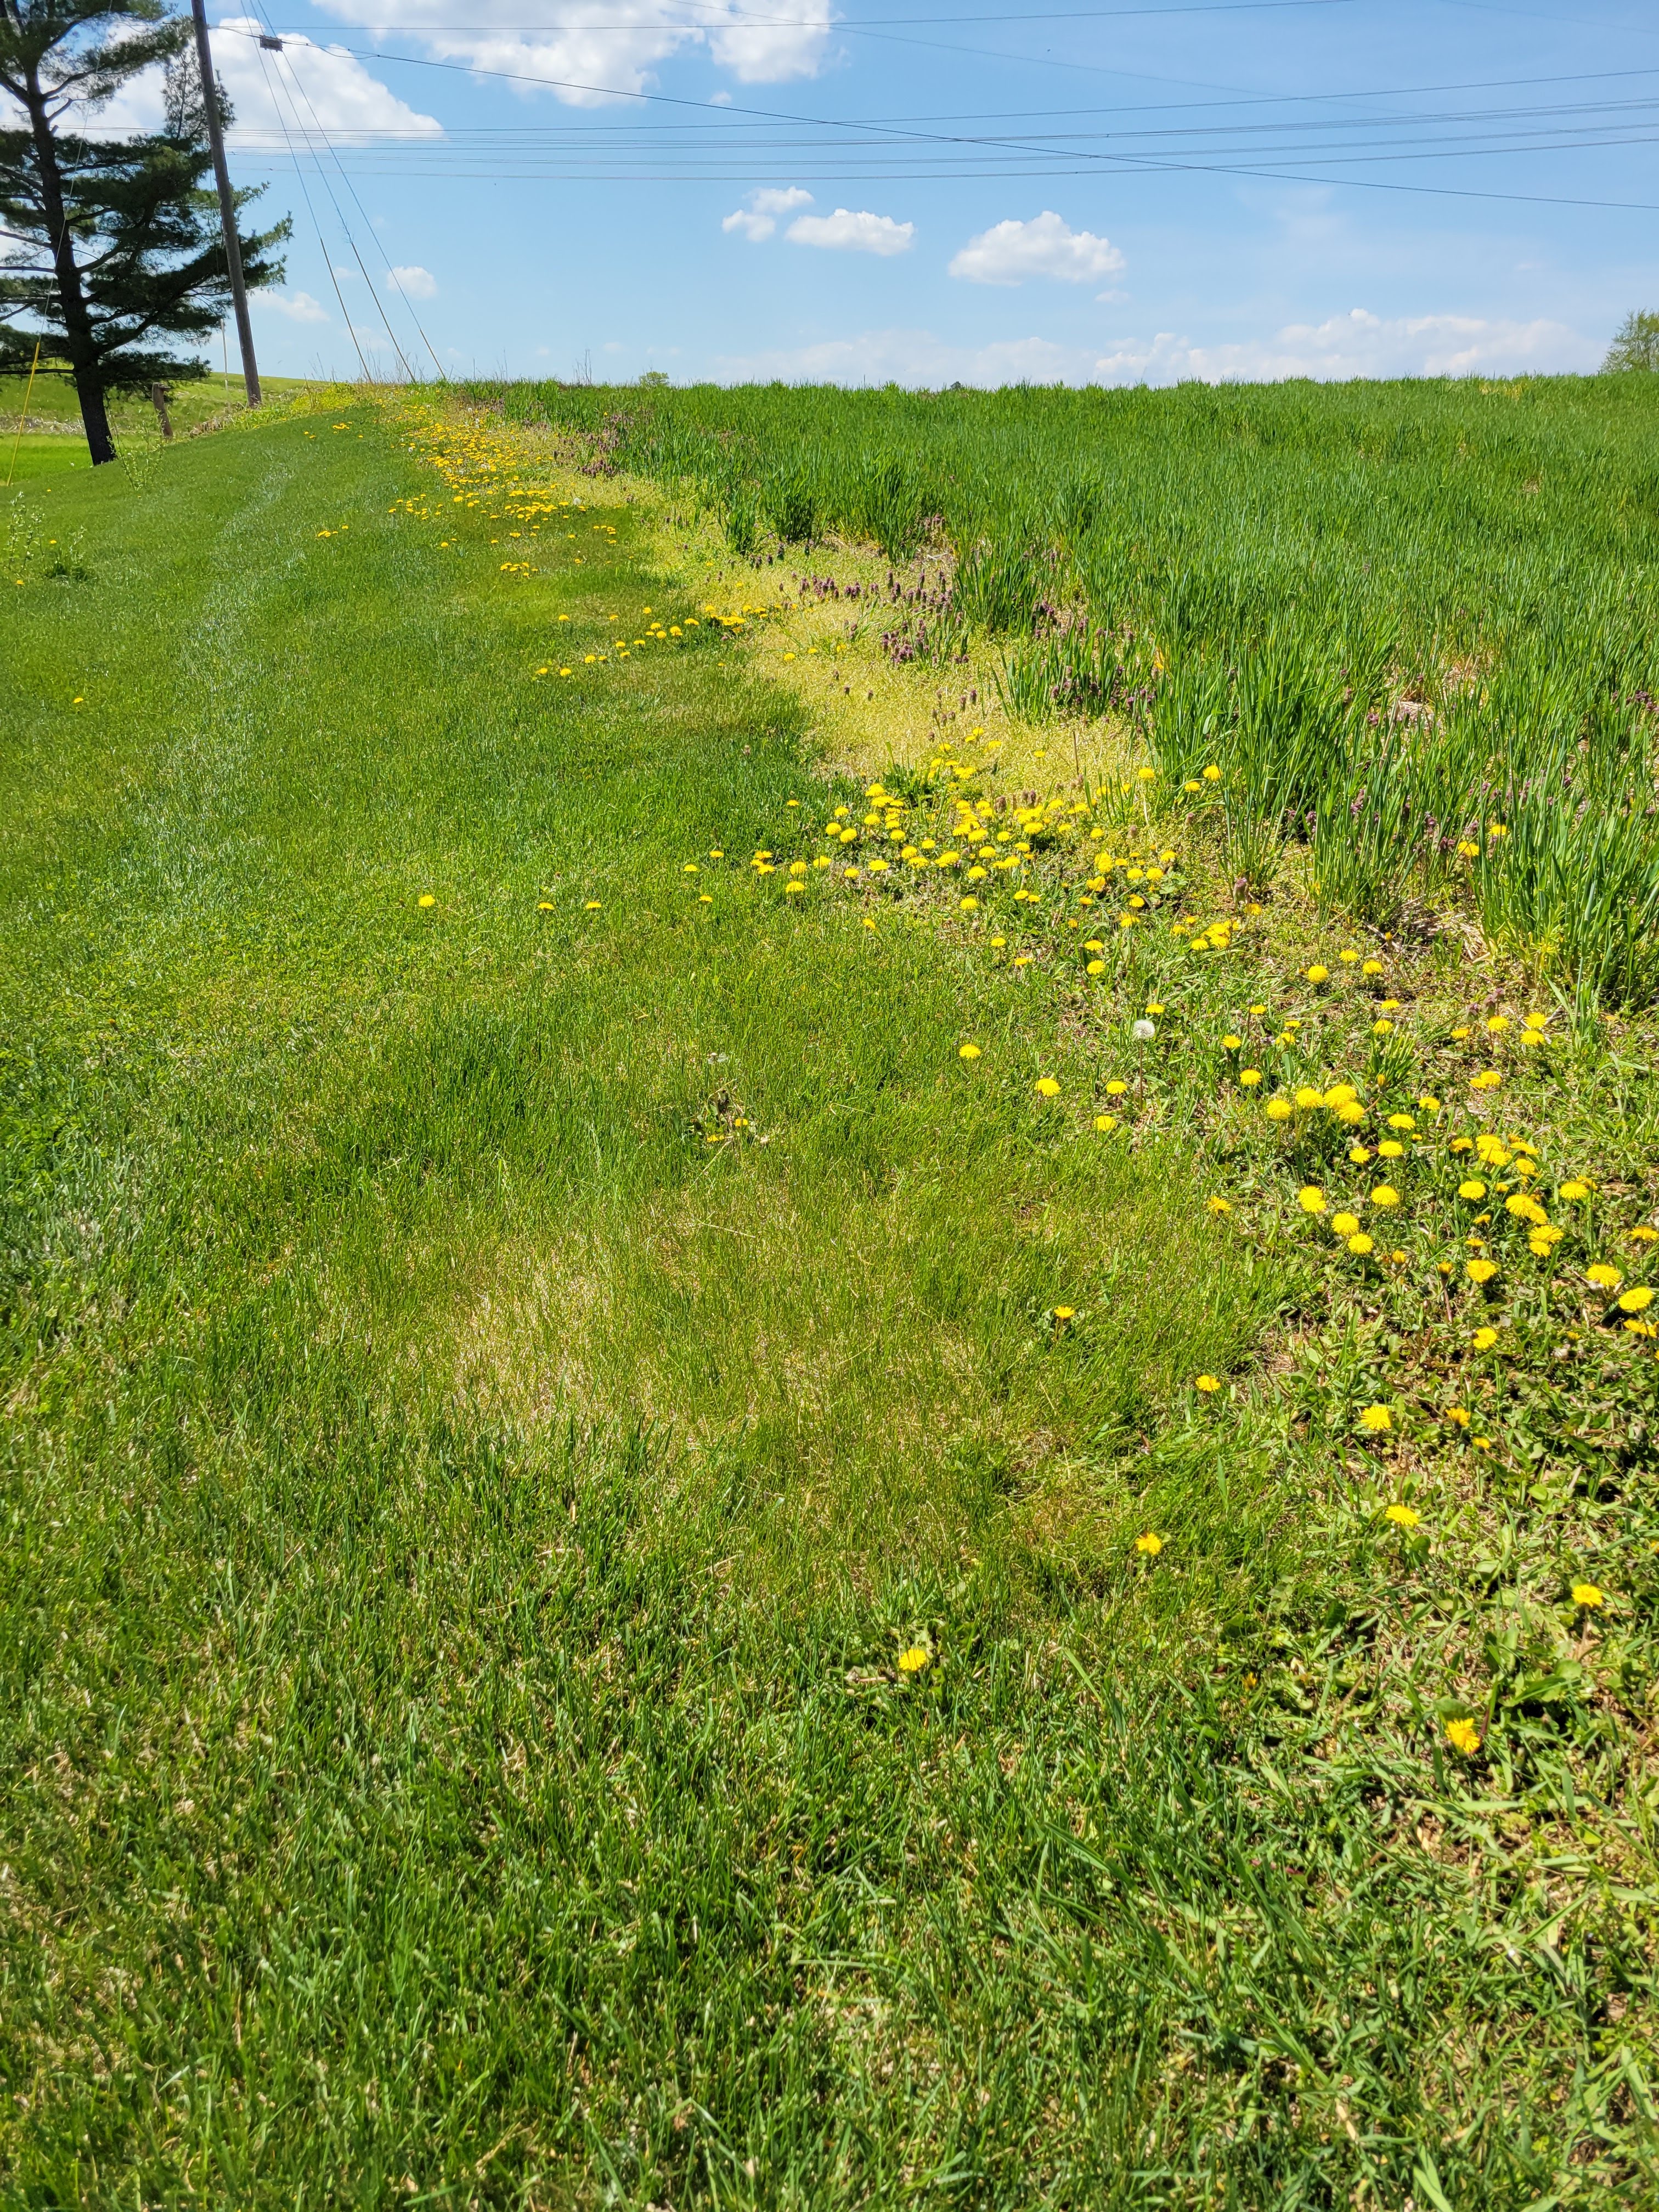
Regular warnings apply: do not pick flowers where toxic chemicals are regularly applied. This is the border with the industrial agricultural field next to us, and NONE of those flowers went into my wine. OK, in all honesty, when the farmer sprays everything ends up in my yard, which means I cannot say anything is “organic” even if I don’t apply herbicides or pesticides. With our wind conditions, I cannot keep his ick out of my yard. But I do pick as far away from the border as I possibly can.
Remember to check the flowers for bugs! And leave plenty for the spring pollinators who might be visiting like this little bee.

Rather than pulling the petals out by hand, I opted to use a dainty pair of gardening snips. If you remove the petals manually, you will get sap on your hands and your fingers will turn yellow. Trust me on this one! Plus it takes longer.
Snips in hand, I set to work. What doesn’t work: approaching each flower and cutting petals from each directly into a container. I thought it would save time, since this approach has just one step – cut petals. But this is beyond tedious, and ended very quickly.
Another approach that doesn’t work: plucking the dandelion flowers, stems and all, storing them in the fridge intending to cook the stalks as a side dish, and then only getting back to them a few days later when the flowers are all brown and wilted. Dandelion flowers can keep a few hours if you put them stalks in a vase of water, but they should really be processed the same day.
What DOES work: storing clipped petals in a freezer bag until you FINALLY have three quarts to use. It actually took me several weeks of collecting dandelion flowers every couple of days to get that many. And I had a LOT of dandelions in my yard. (Yes, our neighbors hate us.) I lacked the time to pick them and process them all at one time!
Here is how the dandelion “tea” looked (step 2 of the instructions):

And how it looks now, after the wine has been fermenting two weeks:

I’ll be completely honest. With this particular recipe, I probably could have started with water, and still ended up with a ferment-y, wine-y beverage at the end, due to the other ingredients. I’m not even sure I’ll be able to taste “dandelions” over the flavors of the wine yeast and the sugar they were fed!
Also, the recipe suggests the primary fermentation should end in one to two weeks. When we checked today (the two week mark) those yeasties were still bubbling up a storm! We’ll keep checking weekly until the activity subsides, and then decide whether to let them finish in bottles or a carboy. (Or more likely the same two gallon food-grade plastic bucket it’s currently in, after the solids have been strained out and the bucket washed thoroughly.)
Will the dandelion wine be worth the wait? Ask again in about three months!
In other news – I survived my first lamentable attempt to eat prickly pear pads from my very own plant. (Not the one I tried to start from seed last year, rather a mature plant I picked up at a plant swap.)

Some sources say to burn off the spines and glochids. (Remember glochids?) Hot (haha) tip: the fire you are grilling the prickly pear over? Not sufficient to remove glochids. I have several lodged inside my mouth – yes, really, stop laughing at me – because it took me a whole bite to realize my mistake. The tips broke off and now the barbs remain. Let this be a lesson to you, gentle reader; yes, it’s tedious to use a knife to scrape off the spines and glochids, or a peeler to just remove everything, but seriously. Just do it. Trust me on this one!

[…] week I mentioned my new-to-me prickly pear (Opuntia spp.), a spiky addition to the hardscaping where my sunchokes (Helianthus tuberosus) […]